Taking Great Pictures of Your Fibre Projects
As artists and artisans we are sometimes called upon to submit a photograph of our work for a contest, exhibition or just to show to our friends in Snippets! Some of us are also interested in selling our work online. Making your photographs stand out from the crowd isn’t as difficult as you might think.
Cameras
You don’t need a fancy digital camera (DSLR for example) to take great photos. In fact, the digital camera in most smart phones is all you really need. However, the more you know about the features available on your particular camera, the better. There are lots of online tutorials. This one on YouTube, for example, gives some great tips on how to use the camera on an iPhone: https://bit.ly/31jOGFW And here’s one to help with Samsung Galaxy phones from Tom’s Guide: https://bit.ly/2EhiH0c
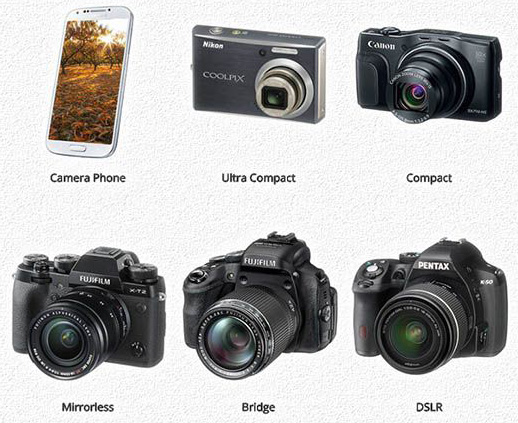
Photo credit: better-digital-photo-tips.com
Lighting
In general, natural light is best. Don’t take your pictures at night with your house lights on (they tend to come out on the yellow side) and don’t use your flash (it creates harsh shadows and an unnatural feel). Wait until daylight and shoot outdoors or near a big window. Open a door and let the sun shine in.
To photograph a large two-dimensional object (wall-hanging, quilt, clothing, etc.) hang it on a white or light-coloured wall as near to your light source as you can get. (If your project uses very light colours find a darker wall or hang dark fabric larger than the project behind your item.) Make sure you can stand in front of the project without blocking your light source. You can augment your natural light source with a couple of inexpensive goose-neck lamps with 100w daylight LED light bulbs. Have light coming from two sides of your project at an angle rather than directly in front of it.
For photographing small- to medium-sized three-dimensional objects, use a light box which you can easily create at home. A cardboard box, some lightweight white fabric to act as a diffuser, a Bristol board backdrop and some portable lamps are all you need. There are many descriptions and videos available online to help you construct your box. My favorite video is on YouTube at https://bit.ly/2CSBfU3. Note that the light bulbs she show in the video are daylight LED bulbs. Using daylight bulbs is the best way to get accurate colours in your photos. If you make smaller two-dimensional objects lay them on the bottom of the light box and shoot through a hole in the top of the box.
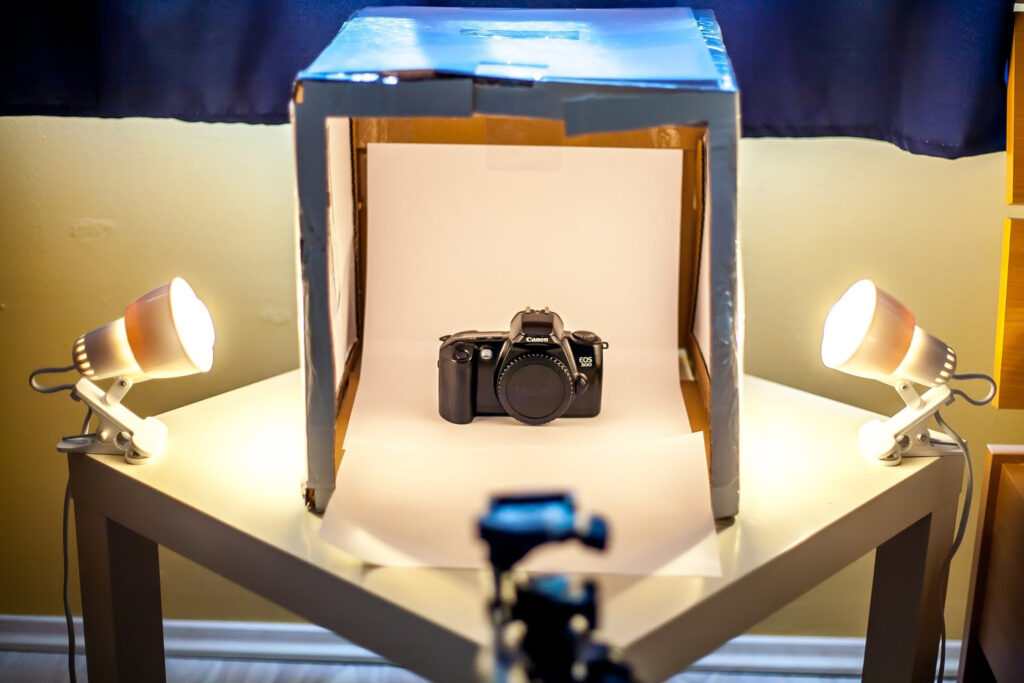
Photo credit: wikihow.com
Staging the Shot
Most of the time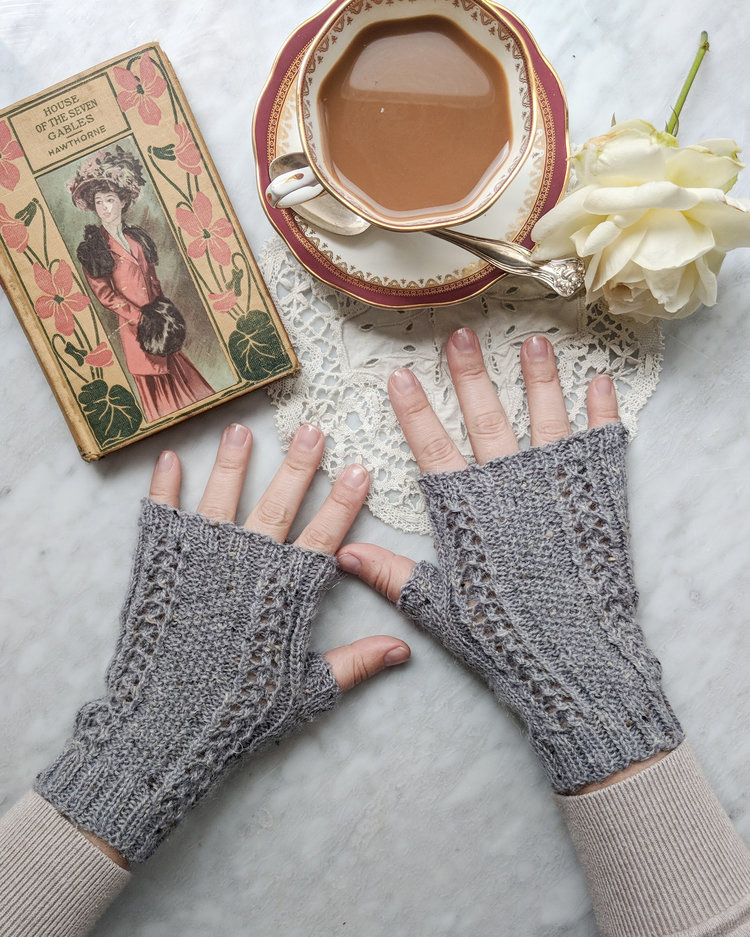 we want our project to be the only thing in the final picture. In this case, the most important thing to remember is that your camera should be at the same level as the vertical centre of your project. If you shoot from above or below the
centre the edges of the project will be distorted slightly. Crouch down or sit on a chair and adjust the camera height until the edges of your project appear “square.” Freeform (i.e. non geometrical) objects will also benefit from this approach.
Sometimes, however, we want our project to appear in a more natural environment. A quilt, for example, could be photographed draped over a chair or a ladder. Put socks on someone’s feet. Use props!
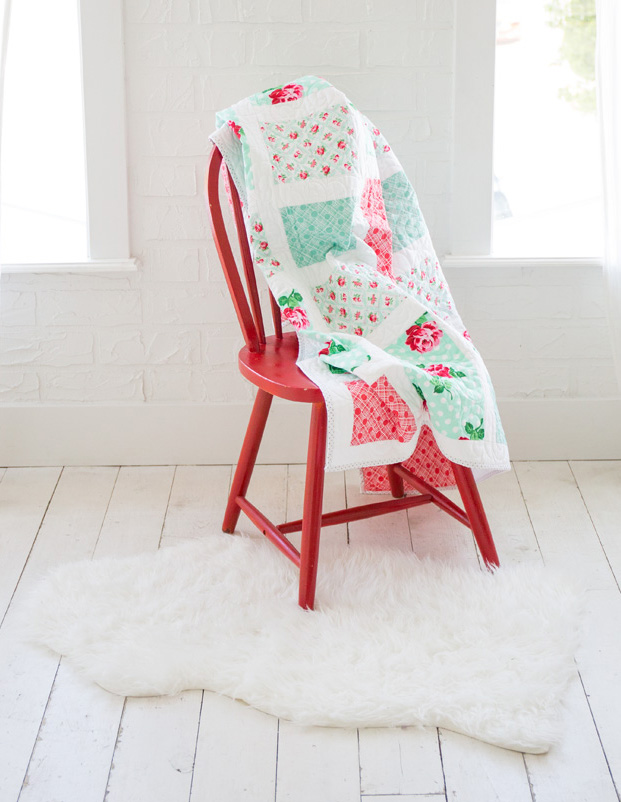
Photo credits: abeeinthebonnet.com (gloves); simplesimonandco.com (quilt)
Taking the Picture
If you have a tripod, use it. If not, keep your hands as steady as possible. If you find that the camera jiggles when you press the shutter, use the timer function of your camera, press the shutter then concentrate on keeping your hands steady as the timer counts down. Take more than one shot adjusting camera angle and lighting until you’re happy with the results.
Editing the Picture
If you’re using your cell phone camera you can use the editing features included with the camera. If you’re using a DSLR or point-and-shoot digital camera you can use photo editing software. (Lightroom and Photoshop are expensive but there are free photo editors like Fotor and Photoshop Express.) Play around with brightness and contrast levels and the cameras preset filters until you find something you like. Don’t forget to compare the results to your original project to make sure you haven’t distorted the colours. Crop the photo if necessary. Save the photo in JPEG format.
That’s it! You’re ready to submit your photo to a gallery, send it to your friends or use it on your website to sell your work.